
You may want to move your NCP instance
- to a larger drive
- restore it after a hardware failure
- from 32Bit to 64Bit Operating System (OS)
Making backup excluding your data
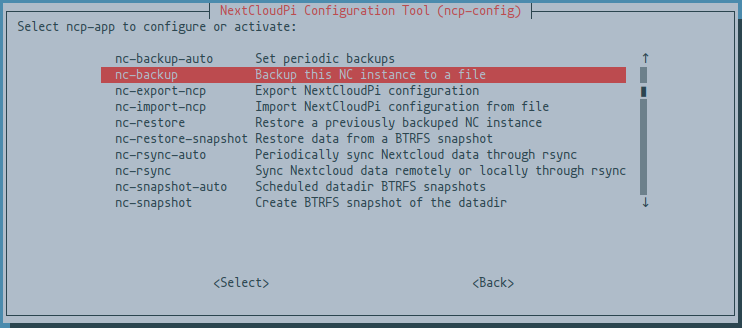
You can visit https://nextcloudpi.local:4443 for NCP’s web interface or start ncp-config from your NCP terminal by typing:
sudo ncp-config
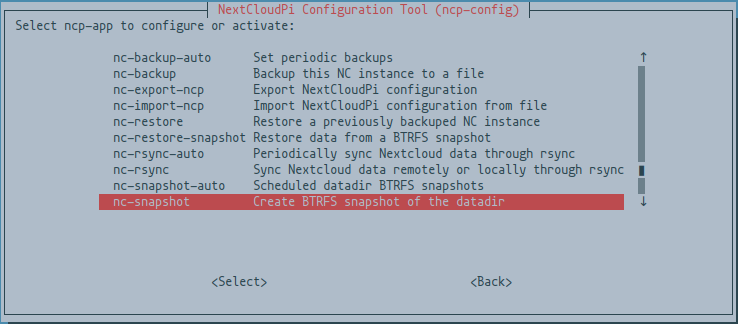
Navigate with arrow up ( ↑ ), down ( ↓ ) and Tab, use Enter to select the highlighted option.
We are going to use nc-backup to back-up our NC instance to a file.


The output will confirm if operation was successful and where the backup file is stored.
It is possible to run backups automatically using nc-backup-auto
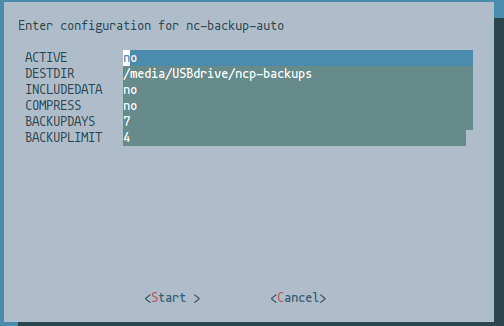
To Enable/Disable, type ‘yes’ or ‘no’ in the ‘ACTIVE’ field, and adjust other settings to your needs
We now have backups of our NC installation directory and database, no actual data included yet. Unless you choose to do so and typed ‘yes’ in the IncludeData field above (Make sure you have enough space before doing this). Next is a backup of the configuration files.
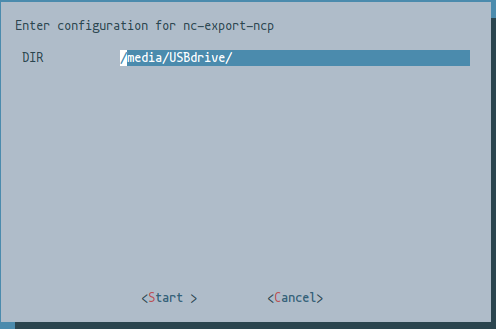
Select destination for backup of configuration:

We now have backups of our NC installation directory, database and the configuration files.
Still no actual data included yet (unless you included it in the step before). Next is a backup or rather BTRFS snapshot of our ncdata-directory.
:: Note ::
This will only work if you used BTRFS instead of ext4 when formating your NC data partition.
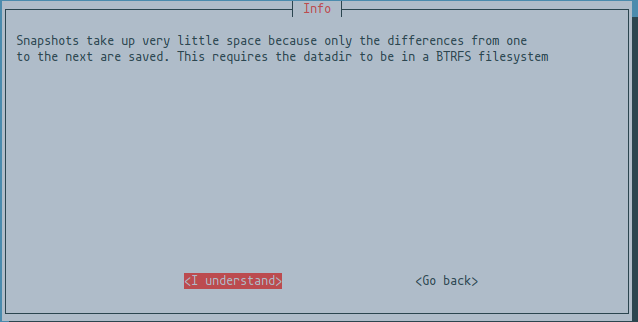

It will confirm the name and location of the snapshot taken upon completion.
You may want to enable nc-snapshot-auto to have regular snapshots taken automatically.
Making backup including your data
Below you will find some of the same steps as above, difference being that ncdata (your files) will be included here, so this may take a long time to execute depending how much data you have stored. My Pi3 took about 20-30minutes to write 15Gb to an external usb drive.
Again, You can visit https://nextcloudpi.local:4443 for NCP’s web interface or start ncp-config from your NCP terminal by typing:
sudo ncp-config
Move up and down with arrow-keys, use tab+enter to select(execute) or finish(cancel)
Select destination location by typing the path: /media/btrfs is mine. Yours may be different. Type yes in include data field and hit enter to start the backup process.

Wait, go make coffee or tea or both, this may take while and depends on how much data you are backing up.

Note the name and location of the backup created. Hit enter to exit.
View video showing how to backup an NCP instance through NextCloudPi web interface.
Restoring a backup including your data
Restoring a NCP instance and using nc-restore looks almost the same as creating the backup.
You can visit https://your-local-IP:4443 for NCP’s web interface or start ncp-config from your NCP terminal by typing:
sudo ncp-config
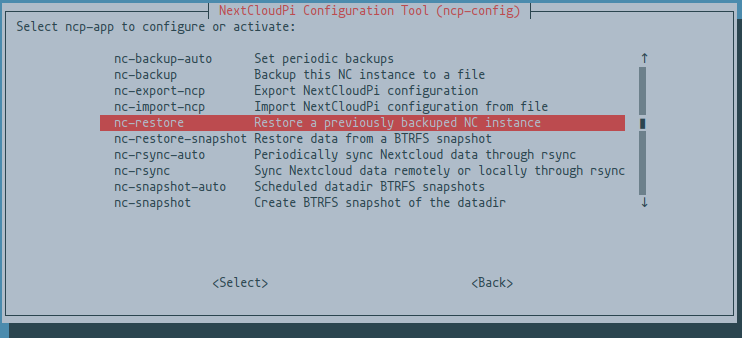
Navigate with arrow up ( ↑ ), down ( ↓ ) and Tab, use Enter to select the highlighted option.
Select nc-restore by highlighting it and hit Enter

Make sure you adjust the name and location to reflect yours. In example below, it failed, because I chose the wrong file.
It worked after correcting it to reflect the backup created in previous step./media/btrfs/nextcloud-bkp_20180107.tar

Time for some patience again ![]() It might take some time depending size.
It might take some time depending size.

Video demonstration how to restore your ncp instance with ncp-web
This a work in progress, thank you for your patience ![]()
Please comment or ask for help HERE
We hope this doc was helpful, if you encounter any issues please reach out to the community.
These docs are written by volunteers, please consider becoming one of them.
Contact the wiki team at Matrix or Telegram