Hi all,
after hours of painful lessons I was successful and like to give something back to the community, as I could not find a proper tutorial on this so far.
So far I had NextcloudPi running on a Raspberry Pi 3b with an USB HDD attached, containing the files as well as the database.
I have started with Proxmox and wanted to move ncp on this too, for better performance and then also getting rid of the additional rpi.
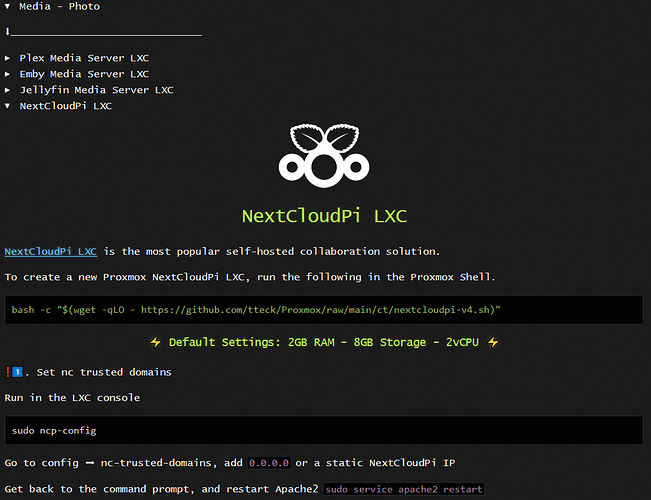
Installation of ncp in a container works like a charm with just the single command from this site:
https://tteck.github.io/Proxmox/
There is also threads here about using the official LXD as LXC with for me not completely clear results (Making it possible: NextCloudPi LXD on Proxmox - #13 by michuvon), so I can only recommend the installation method behind the link.
After having the new ncp installation available, my main problem as a linux noob was to get my hdd with the files into the new installation.
These are the steps that got it working:
Plug in your usb drive into the proxmox host and have a look in proxmox about its name, for me it is /dev/sdb1, with BTRFS forma.
Open a console on your proxmox node.
Type
cd ..
cd mnt
mkdir myCloudDrive
mount /dev/sdb1 myCloudDrive
This has mounted the usb hdd into proxmox, you should be able to see its content in the folder /mnt/myCloudDrive.
To have that mount permanent (currently it would get lost with the next reboot), first do
blkid
and look for the UUID of your hdd. Copy that. Then do
nano /etc/fstab
and add a line at the end, exchange the UUID with the one from your hdd:
UUID=a36bb1d7-001b-93c91-d2b4-42afeabc8241 /mnt/myCloudDrive btrfs defaults 0 2
Reboot the computer and see if the drive is mounted as expected.
Now we make the mount available for the ncp container. For a BTRFS volume, you need to do this with the command line:
pct set 115 -mp0 /mnt/myCloudDrive,mp=/mnt/myCloudDrive
The number 115 is the ID of my ncp instance, exchange that with yours. This will make the mountpoint that we just created available in the ncp container under the same path (you can also change the second path of course).
Now open a console in the ncp container. Check if the mount point is there and if you can see the hdd files inside.
Now we need to tell nextcloud that this is the folder for the files:
nano /var/www/nextcloud/config/config.php
Look for the entry
'datadirectory' => '/var/www/nextcloud/data',
and change that to
'datadirectory' => '/mnt/myCloudDrive/ncdata',
Do the same a few lines below with the tmp path, exchanging the part before the tmp.
The temp directory also needs to be adjusted in the php.ini:
nano /etc/php/8.1/fpm/php.ini
About 17 pages down you find an entry for a temp path that points to the default path (/var/www/nextcloud/data/tmp), adjust that to the same temp path than in the config.php.
Reboot the container.
Log in to Nextcloud and check in settings→system that the USB hdd is considered as data directory.
Still the files are not displayed in the frontend, therefore in ncp-config (like before accessible also via https://:4443 execute nc-scan, afterwards the files should show up.
Done! ![]()
You might have noticed that I did not use my previous database. I was only using nextcloud for files, no contacts/calendars and other staff so far that I would have needed to reimport, so I start with this from scratch. Somehow this could be taken over as well I guess, but I haven’t tried.
I cannot guarantee that some of the things could be done smarter as written above, so feel free to add if you know better, but at least this finally worked any can maybe be of help for someone else who also wants to move from a raspberry pi to proxmox.
