Don’t forget to add your topic to the Howto/FAQ Wiki! DONE
I have seen a couple of posts about issues with proton mail using the proton bridge and get Nextxloud mail seamlessly integrated with each other. I now have a solution using CLI, LXC and reverse proxying.
First a note: I acknowledge that the basics of this setup seeming a tat “overkill” as you could install the mailbridge fully local on the NC host itself, however, I recommend to create a dedicated LXC container for this. If you wish to avoid the extra container, you can follow this guide but avoid any container specific steps.
Also, I do not use docker, so this could probably as easy be done using docker instead of LXC. The point is to use a container.
By using a container, you enables an enterprise-wide SMTP server-like service by utilizing the reverse proxy and being able to bind a localhost port on the container, to a host port, hence proton bridge limitation of only allowing localhost connection to the SMTP port, is hereby overcome. Thus you can use your Proton mail subscription/solution beyond the Nextxloud experience. I use this to enable my system mail service for log monitoring alerting and for Nextxloud itself, to use the proton mail.
The proton bridge supports CLI and multiple users, hence you need only one for supporting several users at the same time. For scalability (I have not tested performance of the bridge beyond 20 users on a single bridge), then by containerizing the proton bridge, you merely “spawns” more containers with bridges.
Requirements
You need three things to make the email setup work with this:
1: A hostname/IP and port (of the reverse proxy)
2: The username of the individual user (proton account)
3: The token/password generated by the bridge during initial setup
This guide will focus on using the proton-bridge as the Nextcloud system email service, even though the groundwork is still layed for using the bridge to serve all the users using protonmail as well. This guide will not cover how to “automate” personal Protonmail accounts on the bridge.
However, as this is through the CLI, you can script this setup and provide the responses as with any other script, hence you can build a small web UI on top of the CLI yourself, if you are managing the Nextcloud setup for a larger organization.
Hereby follows the how-to of getting this setup for my private service.
This guide has been made and tested using this: [link removed due to spam]
As this is done in a container, you are effectively root in the container space, so disregard any sudo.
First step is to create a container.
incus launch images:ubuntu/23_04 protonmail
Go to the terminal of the new container.
inxus exec protonmail -- /bin/bash
root@protonmail:~#
Now update repositories and upgrade any if needed.
apt update -y; apt upgrade -y
Install some needed packages and download the protonbridge
apt install curl debsig-verify debian-keyring -y; wget -P ~/ https://protonmail.com/download/bridge/protonmail-bridge_2.3.0-1_amd64.deb
Verify the bridge package
wget -P ~/ https://protonmail.com/download/bridge_pubkey.gpg
gpg --dearmor --output debsig.gpg Downloads/bridge_pubkey.gpg
mkdir -p /usr/share/debsig/keyrings/E2C75D68E6234B07
mv debsig.gpg /usr/share/debsig/keyrings/E2C75D68E6234B07
wget -P ~/ https://protonmail.com/download/bridge.pol
mkdir -p /etc/debsig/policies/E2C75D68E6234B07
cp ~/bridge.pol /etc/debsig/policies/E2C75D68E6234B07
debsig-verify ~/protonmail-bridge\_2.3.0-1\_amd64.deb
If all checks out, install the bridge
apt-get install /root/protonmail-bridge_2.3.0-1_amd64.deb -y
Prepare running the bridge at startup as a systemd service. Proton needs an app token at launch which is created later, as well as storing the keys to decrypt your Protonmail account data. For this, Protonmail is depending on a secret store. I will ‘pass’.
gpg --batch --passphrase '' --quick-gen-key 'ProtonMail Bridge' default default never
sudo apt install pass; pass init "ProtonMail Bridge"
Start the bridge
protonmail-bridge -c
When you see this:
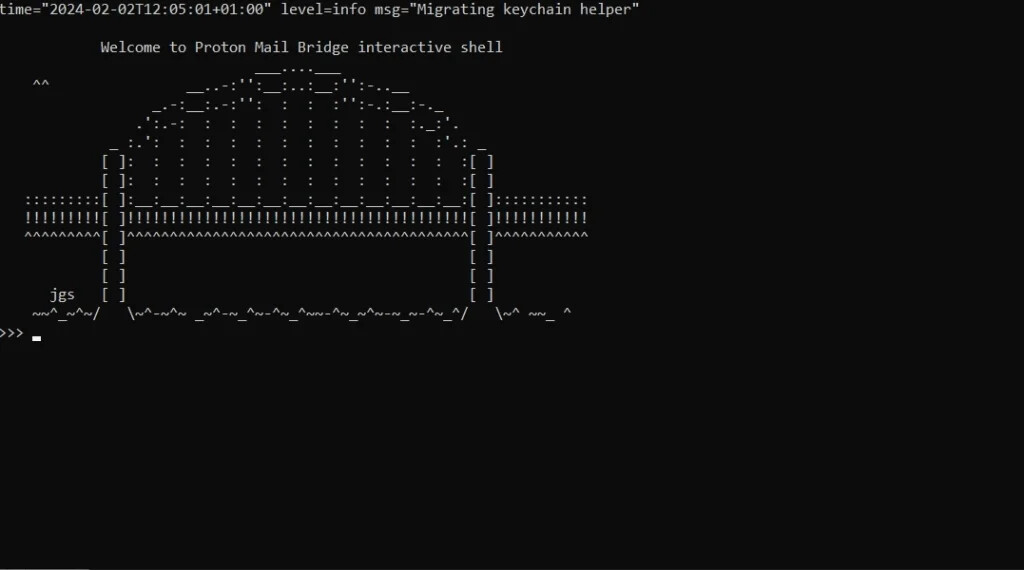
>>>> add    (add your protonmail account to bridge)
>>>> (enter your protonmail account email address)
>>>> (enter your protonmail account password)
>>>> list   (list configured accounts)
>>>> info   (list SMTP credentials for configuring any local SMTP compatible service)
>>>> help   (get familiarized with the bridge options)
>>>> exit   (exit the bridge console which stops the local SMTP server created)
The output of the info command, is the SMTP server connection information. Copy these to a note for use in Nextcloud config.php
Efter exit, you can either use the below easy way of starting the bridge, however I finds it more stable to create a systemd instance (see further below).
nohup protonmail-bridge --noninteractive > bridge_log.txt 2>&1 &
disown
Systemd:
First we need a script for making the systemd possible.
#!/bin/bash
case "$1" in
  start)
    # will create an screen in detached mode (background) with name "protonmail"
    screen -S protonmail -dm protonmail-bridge --cli; echo "Service started."
    ;;
  status)
    result=$(screen -list | grep protonmail)
    if [ $? == 0 ]; then
      echo "Protonmail bridge service is ON."
    else
      echo "Protonmail bridge service is OFF."
    fi
    ;;
  stop)
    # Will quit a screen called "protonmail" and therefore terminate the running protonmail-bridge process
    screen -S protonmail -X quit; echo "Service stopped."
    ;;
  *)
    echo "Unknown command: $1"; exit 1
  ;;
esac
Now create the needed files.
mkdir /var/lib/protonmail
nano /var/lib/protonmail/protonmail.sh
(add the script above)
chmod +x /var/lib/protonmail/protonmail.sh
Time for the Systemd service!
nano /etc/systemd/system/protonmail.service
Add the following to the file
[Unit]
Description=Service to run the Protonmail bridge client
After=network.target

[Service]
Type=oneshot
User=root
ExecStart=/var/lib/protonmail/protonmail.sh start
ExecStop=/var/lib/protonmail/protonmail.sh stop
RemainAfterExit=yes

[Install]
WantedBy=multi-user.target
Enable and start the new service.
systemctl enable protonmail; systemctl start protonmail
Restart the container.
It is now time to make the proton bridge available as if it was a regular SMTP server. As Protonbridge is designed and build to only allow listening to a localhost socket, you will never be able to have other hosts to connect to the SMTP port. This is overcome by attaching a proxy device to the container, which proxies trafic on the LXC host machine port of your choosing, to the localhost:port of the container, thus circumventing this limitation.
incus config device add protonmail protonSMTP proxy listen=tcp:0.0.0.0:1025 connect=tcp:127.0.0.1:1025
For security reasons, you should consider limiting the IP range set on the listen key, to either exclusively be your Nextcloud or a specific range. I am not so concerned myself, as I have everything behind a larger reverse proxy master and by firewall, I allow only the excact hosts to connect to that port.
Now it is a matter of configuring Nextcloud. So in your config.php
'mail_smtpmode' => 'smtp',
  'mail_sendmailmode' => 'pipe',
  'mail_from_address' => 'site',
  'mail_domain' => 'yourdoamin.dom',
  'mail_smtpstreamoptions' =>
  array (
    'ssl' =>
    array (
      'allow_self_signed' => true,
      'verify_peer' => false,
      'verify_peer_name' => false,
    ),
  ),
  'mail_smtphost' => 'IP of your protonmail container host',
  'mail_smtpport' => '1025',
  'mail_smtpauth' => 1,
  'mail_smtpname' => 'from the copy pasted values from the info command',
  'mail_smtppassword' => 'from the copy pasted values from the info command',
  'app.mail.verify-tls-peer' => false,
That should be it.