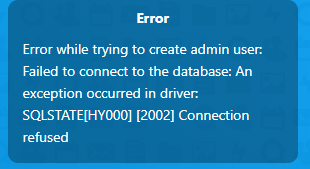
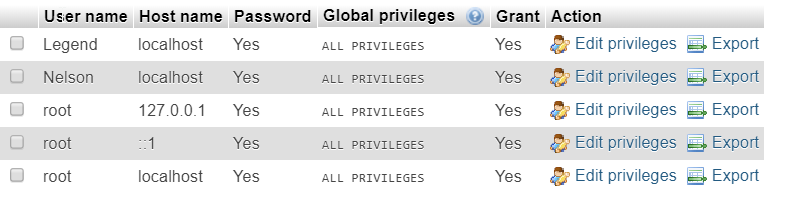
It seems you ether did not enter DB Password, or did not configured it.
You try to access with user “oc_Legend”, but on configuration it is “root”.
Also could be that DB name is not “root”, but something like “nextcloud”?
Please check how to:
Manually create DB for NC
To get started, log into MySQL with the administrative account:
mysql -u root -p
Enter the password you set for the MySQL root user when you installed the software.
Nextcloud requires a separate database for storing administrative data. While you can call this database whatever you prefer, we decided on the name nextcloud to keep things simple.
CREATE DATABASE nextcloud;
Note: Every MySQL statement must end in a semi-colon (;). Be sure to check that this is present if you are running into any issues.
How to create user and set password fo DB
Next, create a separate MySQL user account that will interact with the newly created database. Creating one-function databases and accounts is a good idea from a management and security standpoint. As with the naming of the database, choose a username that you prefer. We elected to go with the name nextcloud in this guide.
GRANT ALL ON nextcloud.* to 'nextcloud'@'localhost' IDENTIFIED BY 'set_database_password';
#in Your case if you set user to oc_Legend it could be:
GRANT ALL ON nextcloud.* to 'oc_Legend'@'localhost' IDENTIFIED BY 'set_database_password';
Warning: Be sure to put an actual password where the command reads: set_database_password
With the user assigned access to the database, perform the flush-privileges operation to ensure that the running instance of MySQL knows about the recent privilege assignment:
FLUSH PRIVILEGES;
This concludes the configuration of MySQL, therefore we will quit the session by typing:
exit
With the database set up, we are ready to turn our attention to configuring Nextcloud.
and then:
Configuring Nextcloud
To access the Nextcloud web interface, open a web browser and navigate to the following address:
https://server_domain_or_IP/nextcloud
If a self-signed certificate is being used, you will likely be presented with a warning because the certificate is not signed by one of your browser’s trusted authorities. This is expected and normal. We are only interested in the encryption aspect of the certificate, not the third-party validation of our host’s authenticity. Click the appropriate button or link to proceed to the Nextcloud admin page.
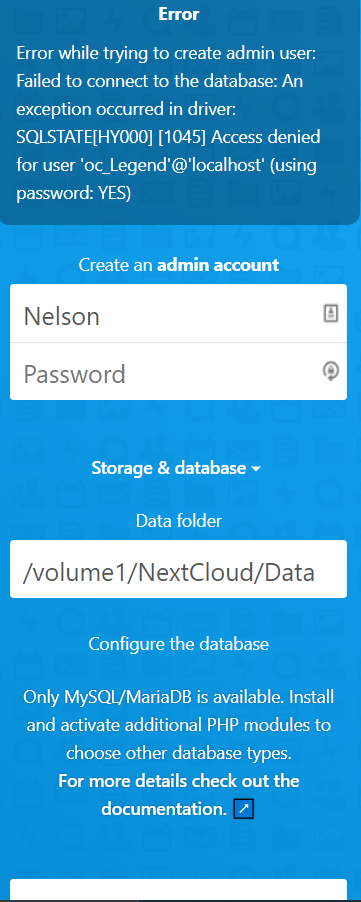
You should see something like this:

Create an admin account by choosing a username (it is recommended to avoid using something like «admin» for security reasons) and a password.
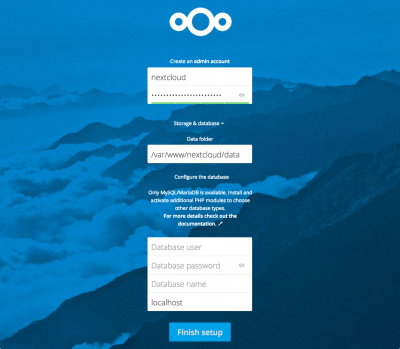
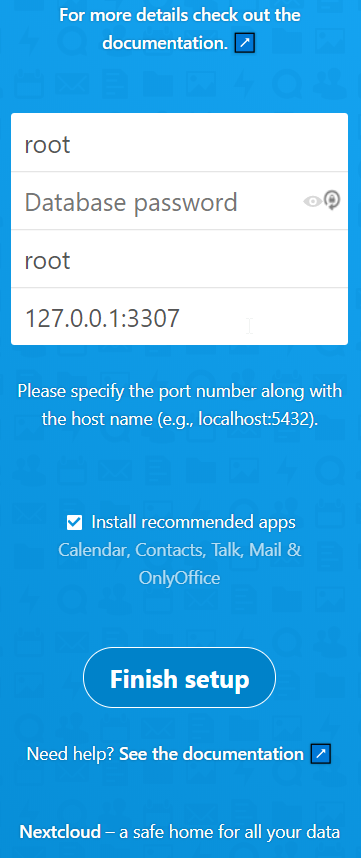
Under the Storage & database section leave the Data folder setting as-is and enter the database information, you created in the previous step, in the Configure the database section. Below is an example, which matches the database credentials that we used in this guide:

Click the Finish setup button to sign into Nextcloud. a safe home for all your data splash screen should appear:
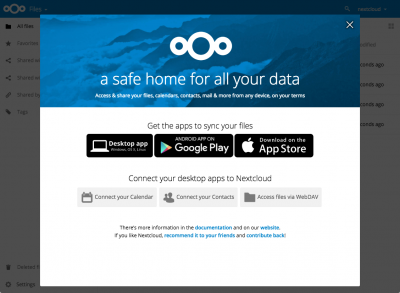
lick the X in the top-right corner of the splash screen to access the main interface:
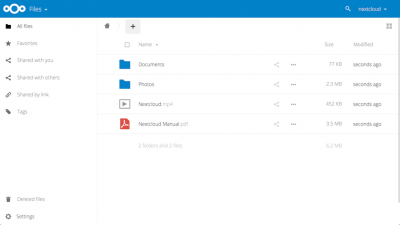
Here, you can create or upload files to your personal cloud.